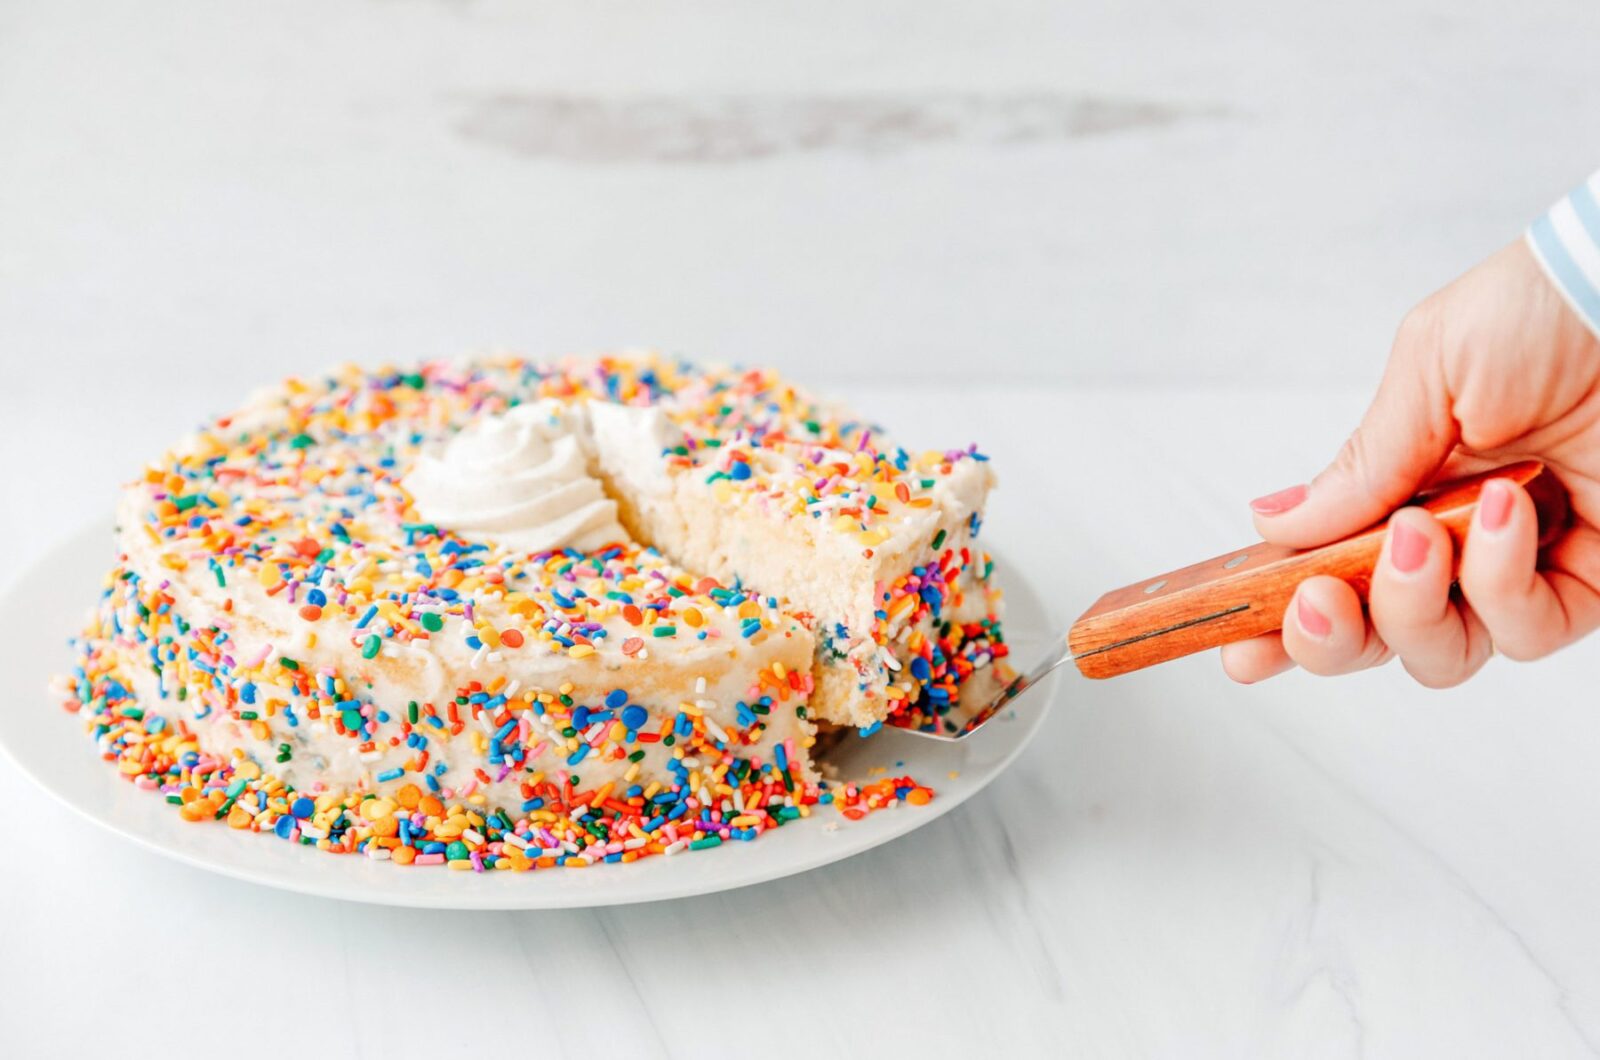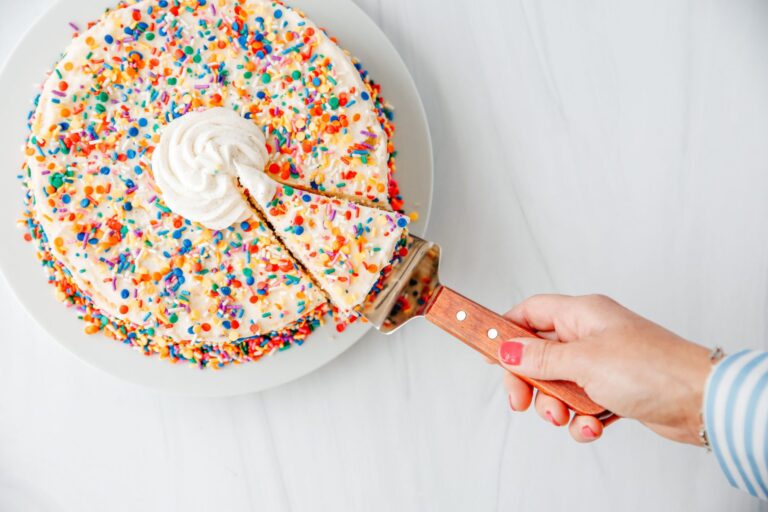
GLUTEN FREE BIRTHDAY CAKE
Makes an 8-inch, 2-layer cake
1
hour50
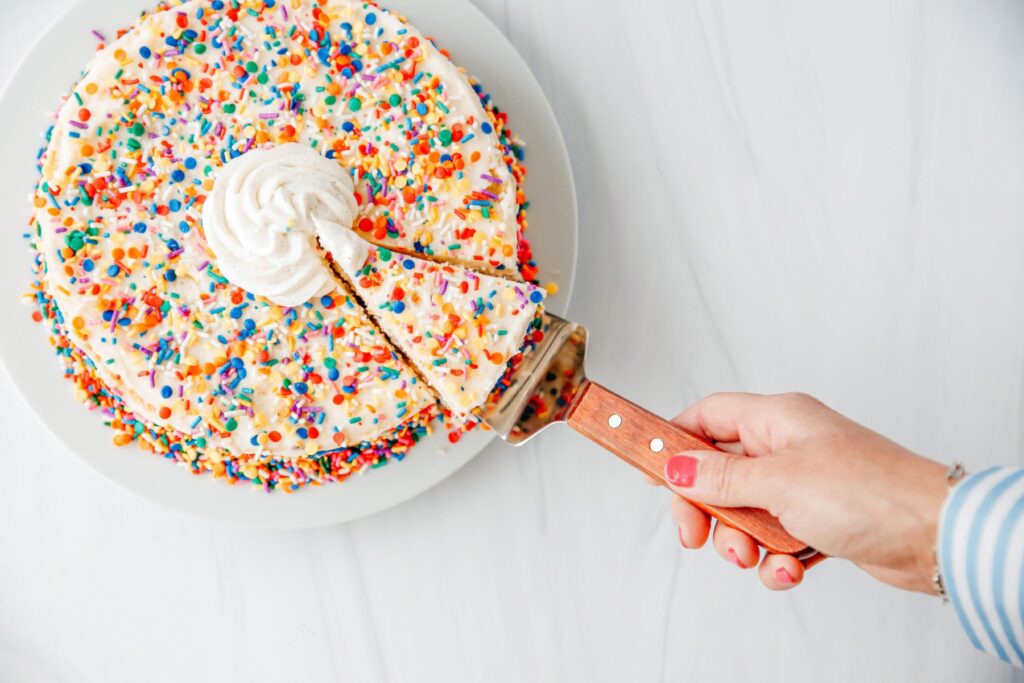
minutesOn Season 4 of our podcast Smidgen, Anne took on cooking questions, probs, conundrums and curiosities from customers. Longtime customer Connie posed a very important question about baking for a family member with Celiac, specifically: how does one make a gluten-free birthday cake? To get the answer, we talked with Kelly from Celiac Chicks, and answer it we did! The result is this delicious, celebratory birthday cake that is pure happiness bite after bite. We adapted the classic sponge from Canelle et Vanille Bakes Simple. It’s a must-have book and a must-look website for anyone who lives a gluten-free lifestyle. Grab the candles. It’s time to make a wish!
This recipe is featured on Season 4 of Smidgen, Episode 5 “Gluten Free Baking Inspiration.” Give it a listen to enhance your gluten free baking knowledge!
Ingredients
2 cups powdered sugar
3 eggs
1 cup sugar
1 tsp Pure Vanilla Extract
1 cup almond flour
3/4 cup + 1 Tbl potato starch
1 1/2 tsp baking powder
1/2 tsp Baker’s Salt
1/2 cup + 2 Tbl unsalted butter, melted and cooled
For the buttercream:
2 sticks unsalted butter, at room temp
1 -2 Tbl whole milk, oat milk or coconut milk
1 tsp Vanilla Puree
Instructions
- Preheat oven to 350°F. Spray two 8-inch pans with nonstick spray. Line with parchment. Spray the parchment with nonstick spray.
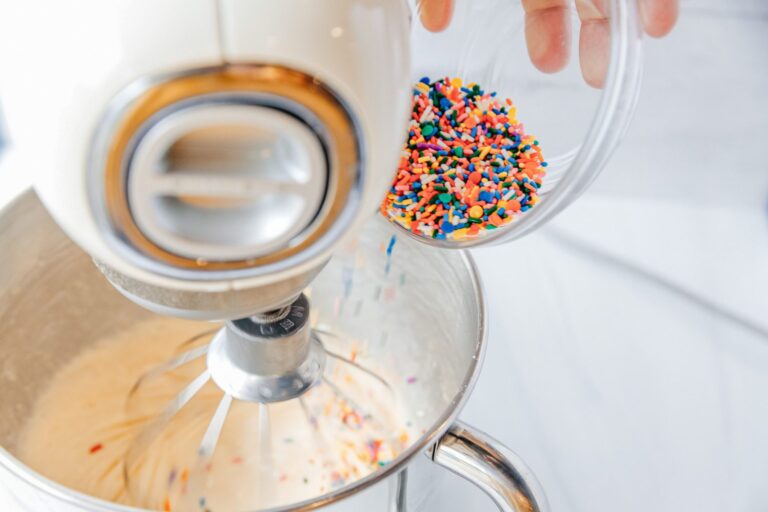
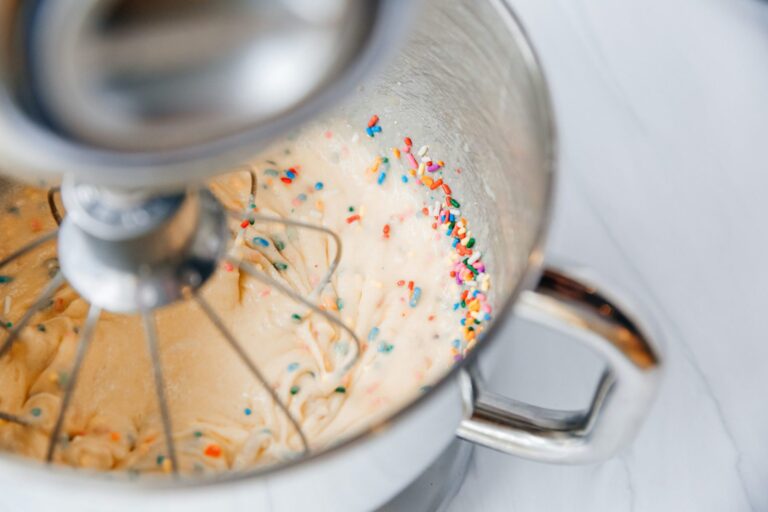
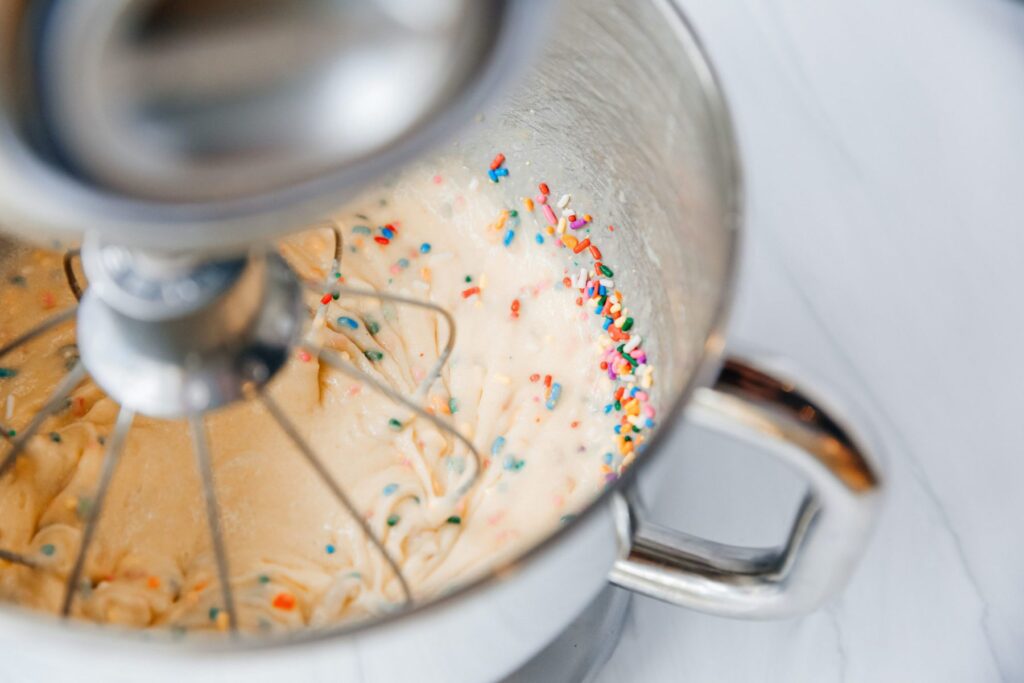
- In the bowl of a stand mixer fitted with the whisk attachment, combine the eggs, sugar and Vanilla Extract. Whip on high speed for 5 minutes. The mixture will triple in volume.
- With the mixer on medium, add heaping tablespoons of the dry mixture to the egg mixture. Once you have added all the dry ingredients, add the butter in a steady stream. Increase the mixer to high and mix for 1 minute.
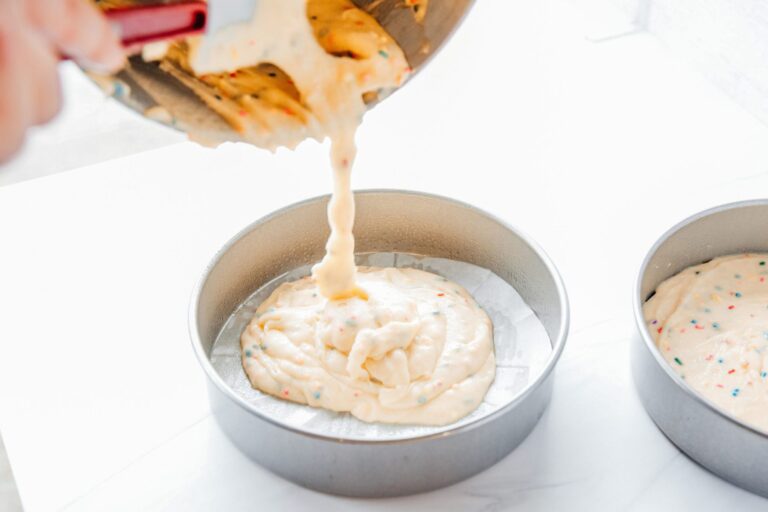
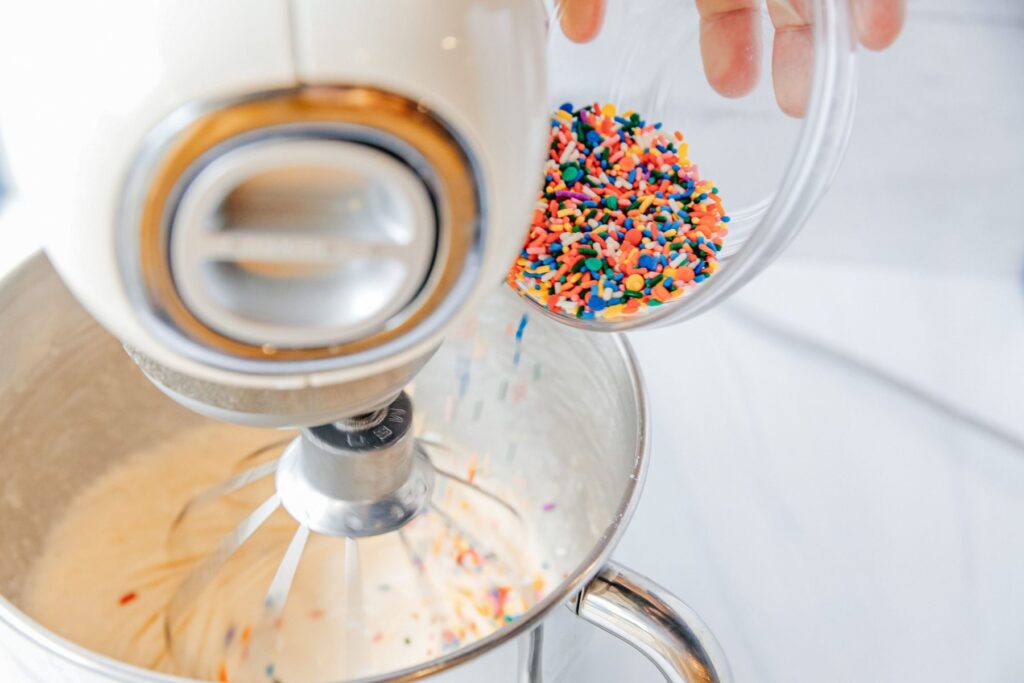
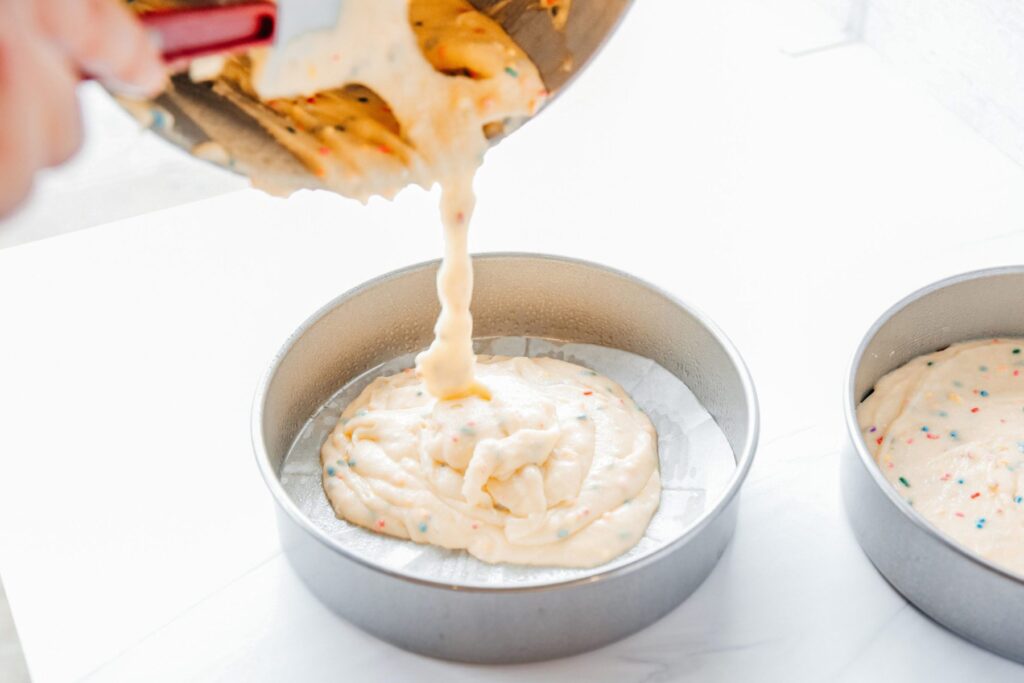
- Divide the batter equally between the two prepared pans. Divide the sprinkles amongst the two pans. Allow to sit on the surface – they will sink as the cake bakes. Bake for 25-30 mins, until the top is springy when touched and a toothpick inserted in the center comes out clean.
- Cool the cakes in the pans for 30 mins. Run the tip of a butter knife around the pan edges. Invert the cakes onto wire racks and cool completely. The cakes can be wrapped in plastic and stored in the fridge for a day. Wrapped cakes can be placed in freezer-safe ziptop bags and frozen for up to six months.
- For the buttercream: In the bowl of a stand mixer with the whisk attachment, beat the butter n medium-high speed until creamy – about 2 mins. Add the milk and Vanilla Puree and beat for another minute.
- With the mixer running, add the powdered sugar by spoonfuls, scraping down the sides as needed. Continue beating until the buttercream is fluffy and holds peaks. Buttercream can be stored in the fridge for a week. To work with it from the fridge, allow to sit at room temp for 4 hours then beat with the paddle attachment to return it to a smooth, spreadable consistency.
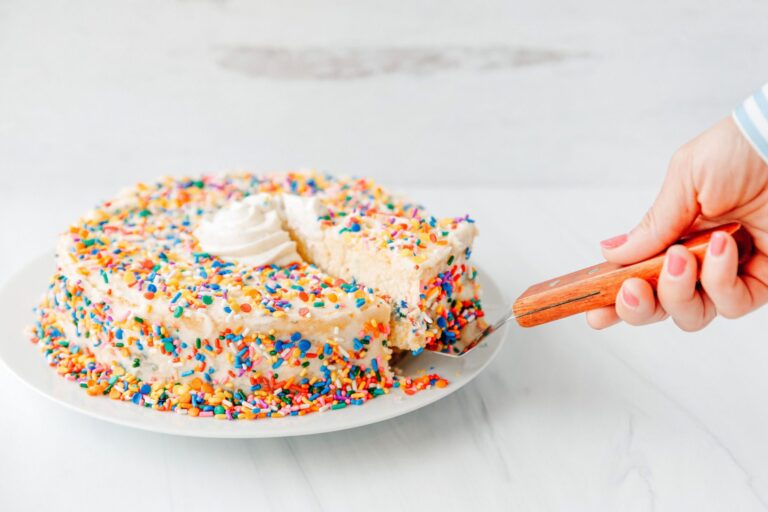
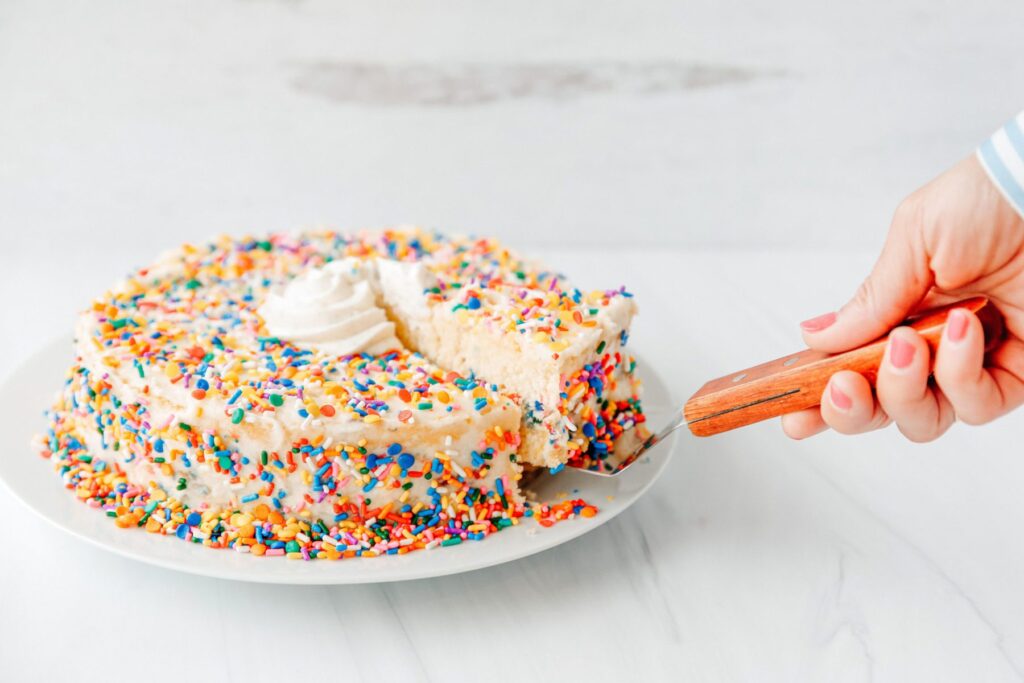
- To frost the cake, place one layer on a serving platter. Add about 3/4 cup butter cream on top of the first layer. Spread with an offset spatula and place the second layer on top of the buttercream. Place the remaining butter cream on the top layer and use the spatula to spread the buttercream on top and down the sides of the cake. You can also place a portion of the buttercream in a piping bag and pipe a decorative border. Garnish with sprinkles, add candles and make a wish!

