Listen to Smidgen: What’s the best way to cook turkey this Thanksgiving?
You know the scene. It’s Thanksgiving, and your family is in awe of your culinary prowess as you pull a perfectly roasted turkey from the oven. Golden brown and juicy and ready to be the star of the show. Or is it? Let’s face it, for years, the focus has been on the sides because we all know that picture perfect bird is one tough customer. Roasting a turkey is time consuming, space consuming and brainwave consuming. When, after all that effort, the bird is less than triumphant, it’s no wonder we dread (or simply skip) roasting the bird.
While listening to this podcast, Anne (alone, in the car) shouted YES. FINALLY! Kenji Lopez-Alt, chef, food writer and author, weighed in on the best way to roast a turkey: flatten the bird. Oh, and you’re going to need some mayonnaise. (Hang in there, anti-mayo folks.)
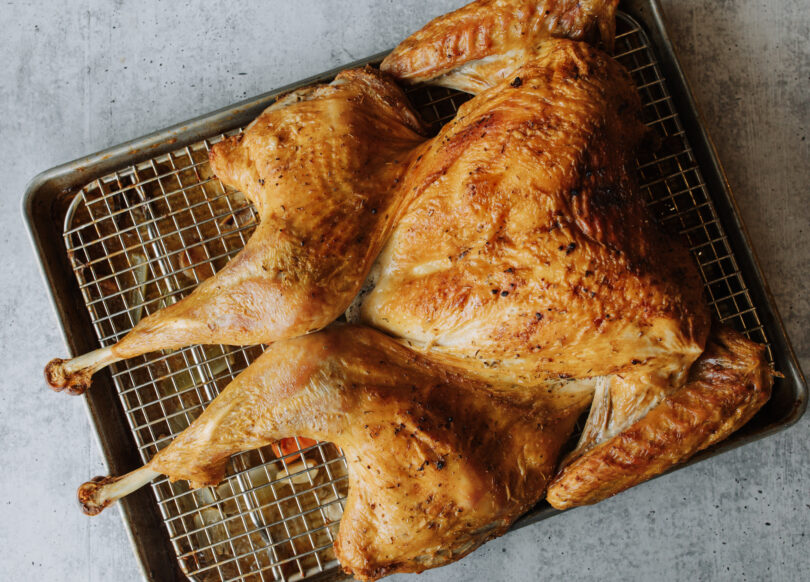
Spatchcocking a turkey is a smart choice for faster, even cooking. By removing the backbone and flattening the bird, it exposes more skin to the heat, resulting in crispy skin and succulent meat. This method also reduces cooking time, and we all need a little extra time on Thanksgiving Day. Here’s our guide to spatchcocking a 12-14 pound turkey for golden brown, juicy results.
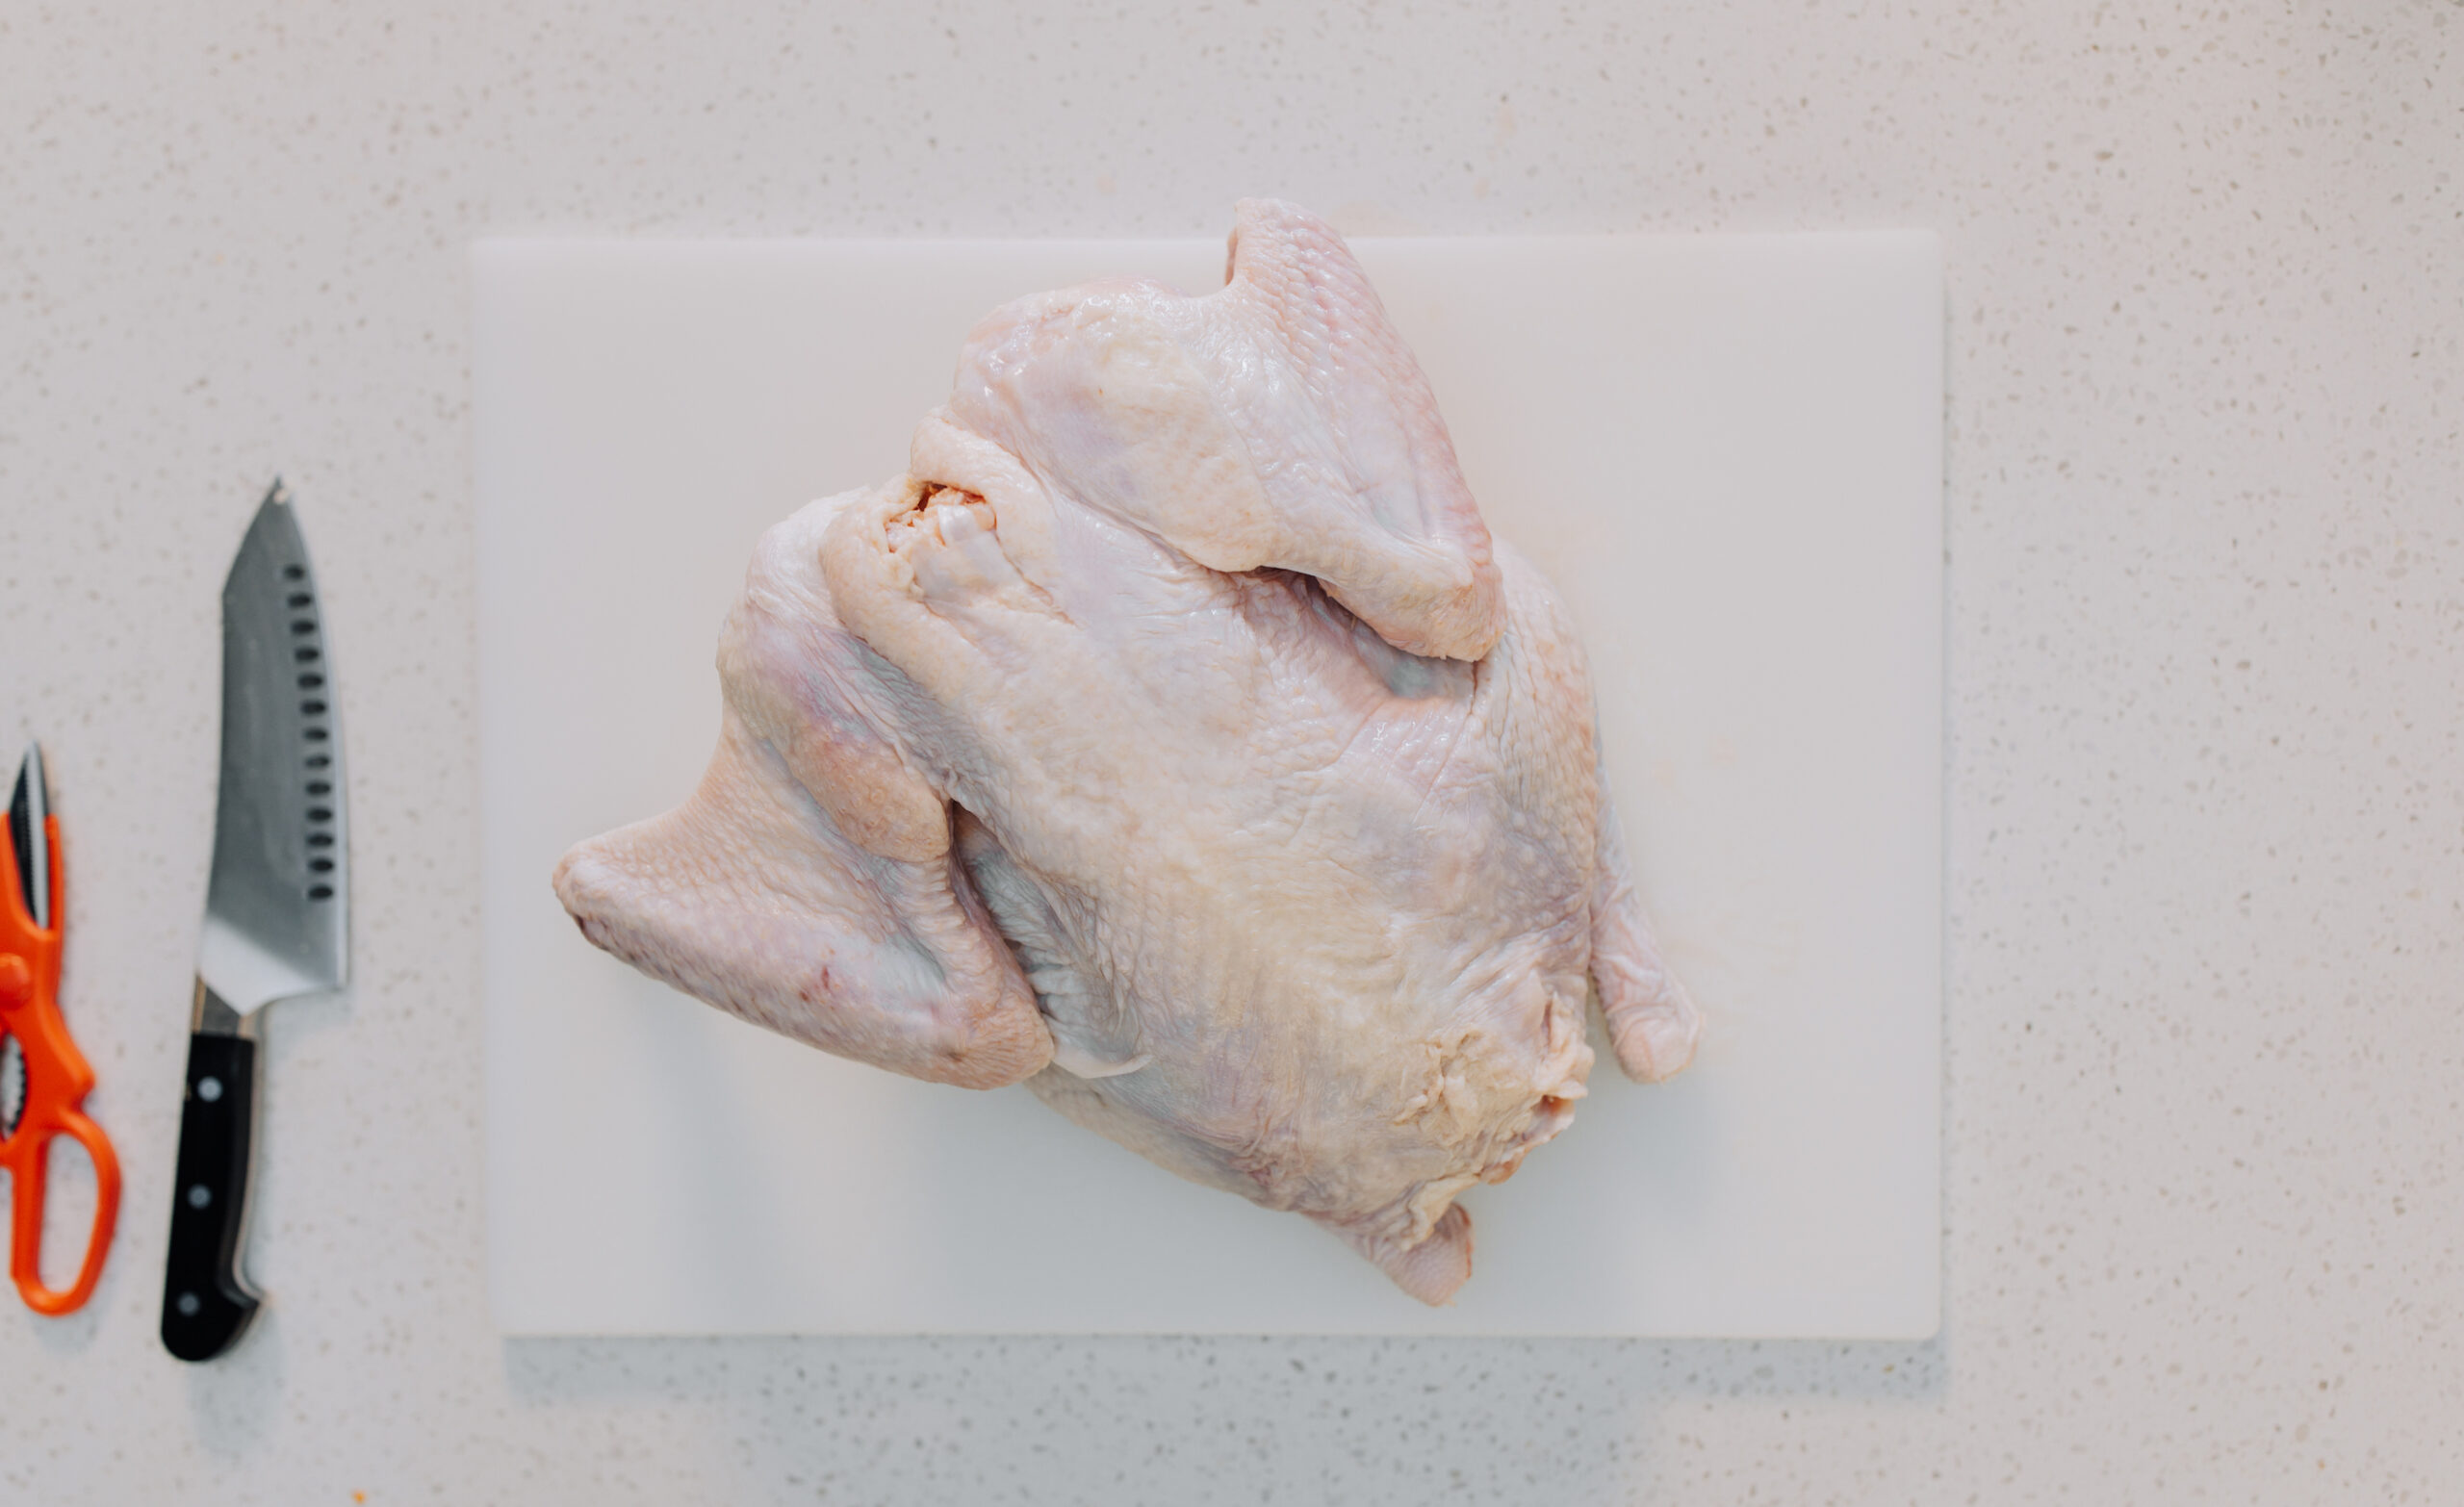
Step 1: Fully defrost and dry the turkey
Discard any plastic packaging and remove the giblets from the cavity. Pat the turkey dry all over with paper towels, letting the juices from the bird briefly absorb into the paper towel. As we’ve touted over and over, the drier you can get the skin, the crispier the skin will get as it cooks.
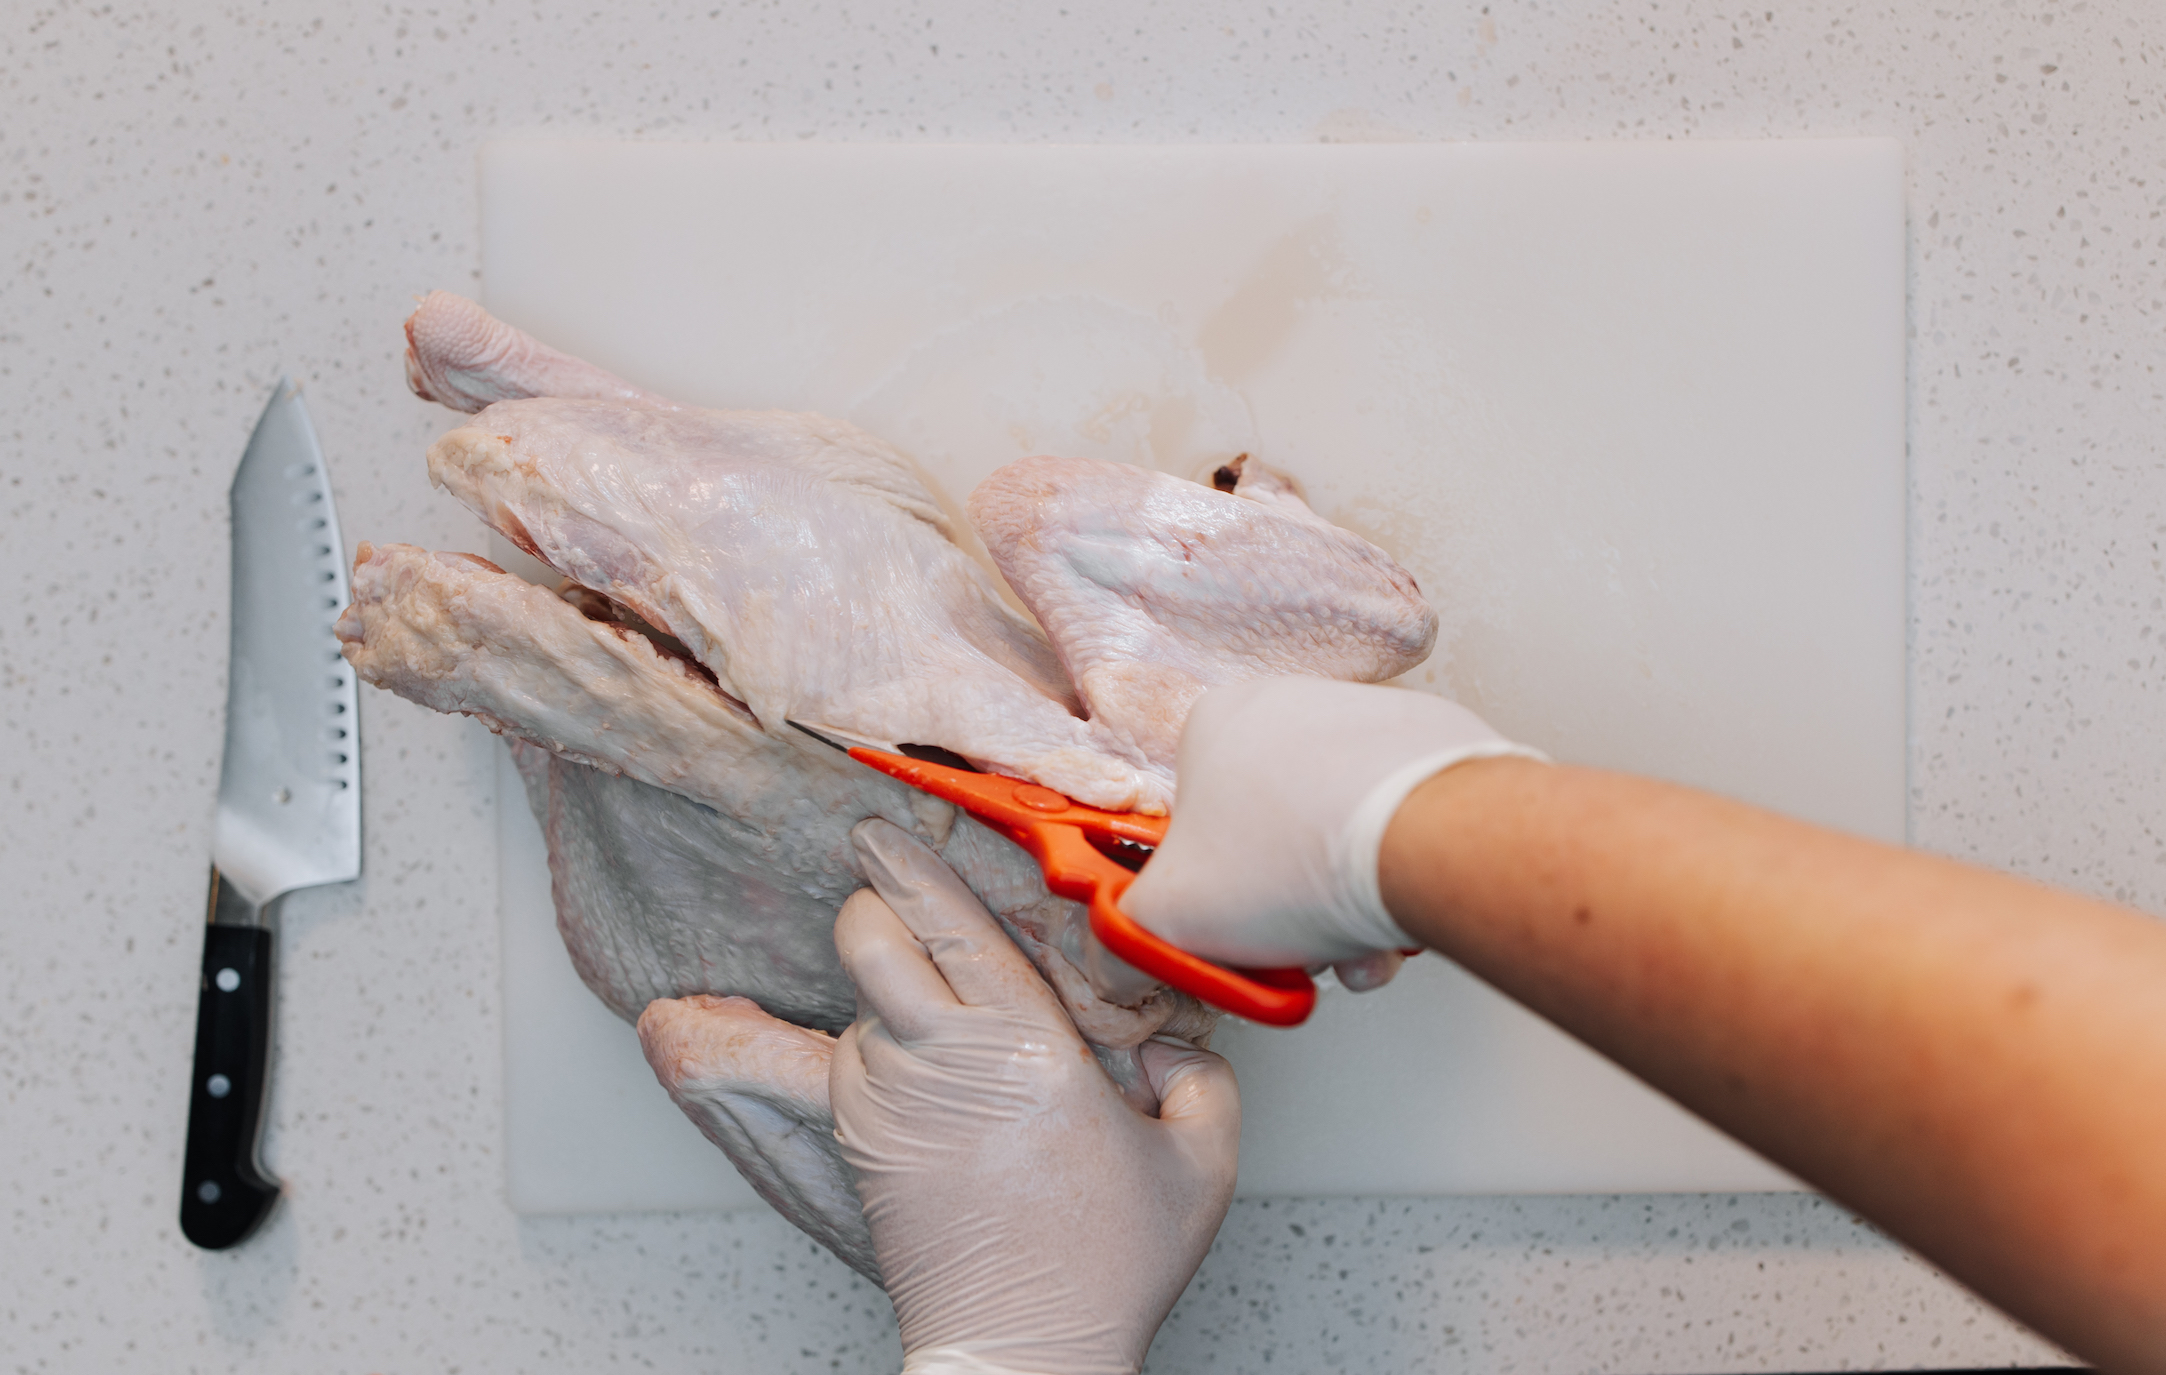
Step 2: Flip the bird and cut along the backbone
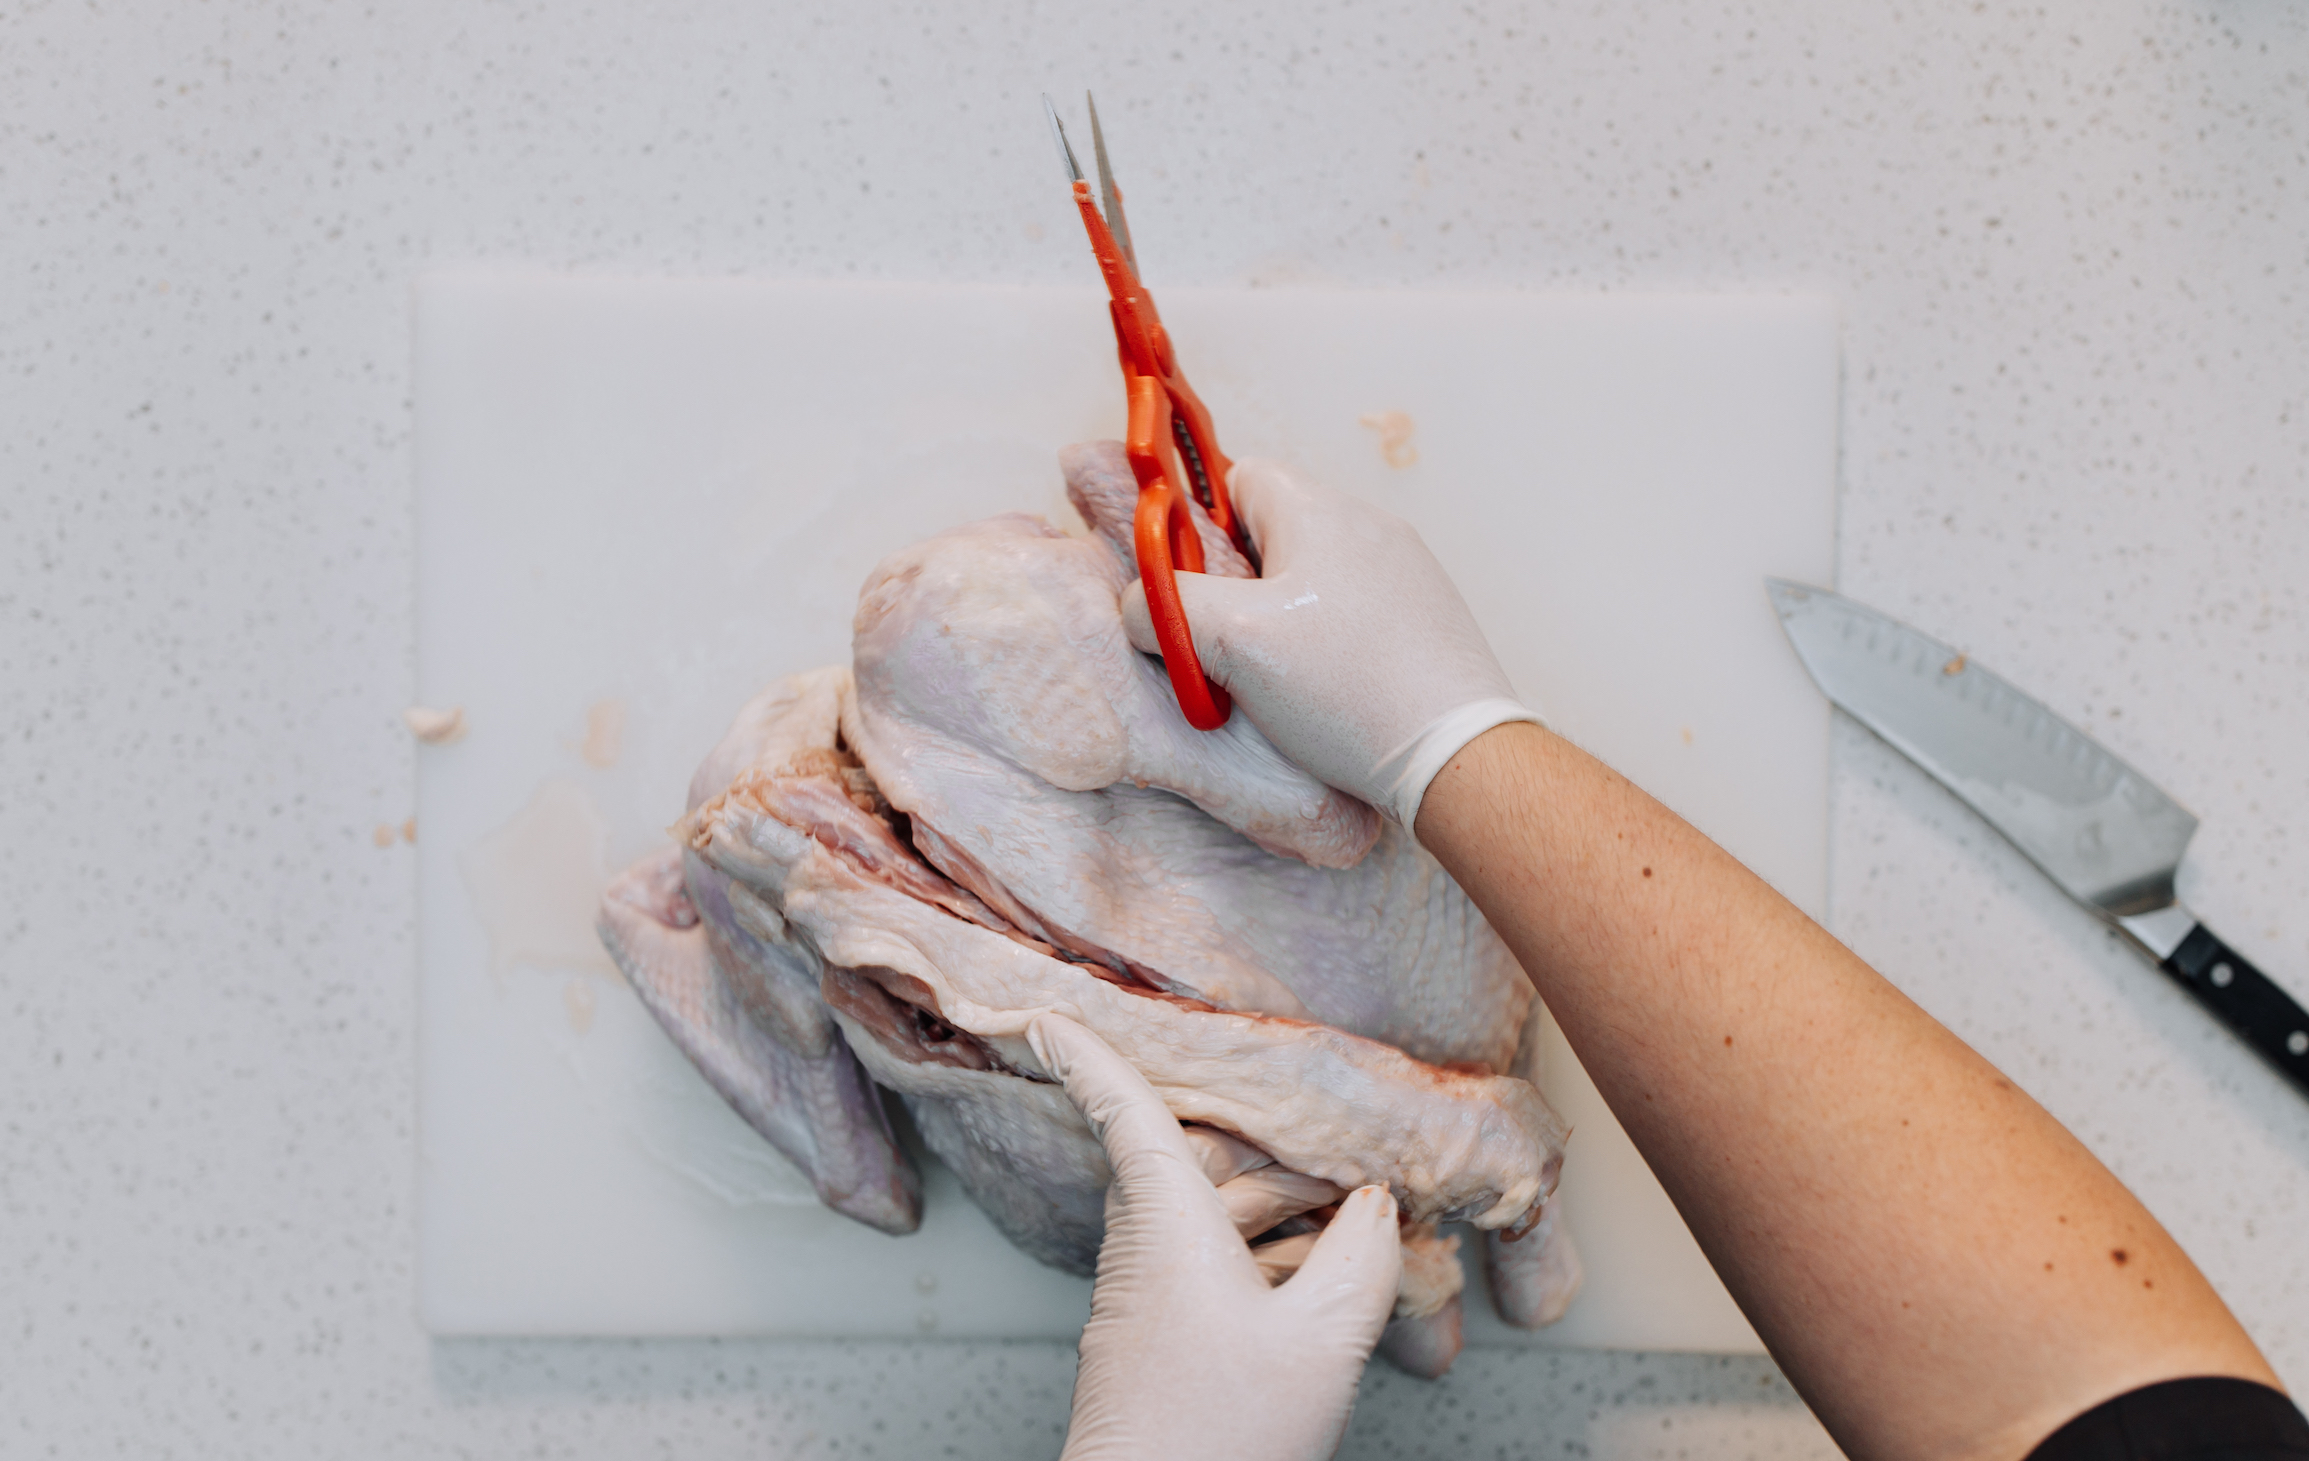
Lay the turkey on your cutting board with breast facedown and the backbone facing up. Cut along one side of the backbone using kitchen shears or a sharp boning knife. Start at the tail and work your way to the neck. We used a knife-scissors combo. Run the knife along the spine, puncturing the skin down to the bone then cut through with the kitchen shears. You will be cutting through cartilage and bones – put some elbow grease into it! Cut along the other side of the spine and remove the backbone. Save the backbone! You’ll use it to make gravy!
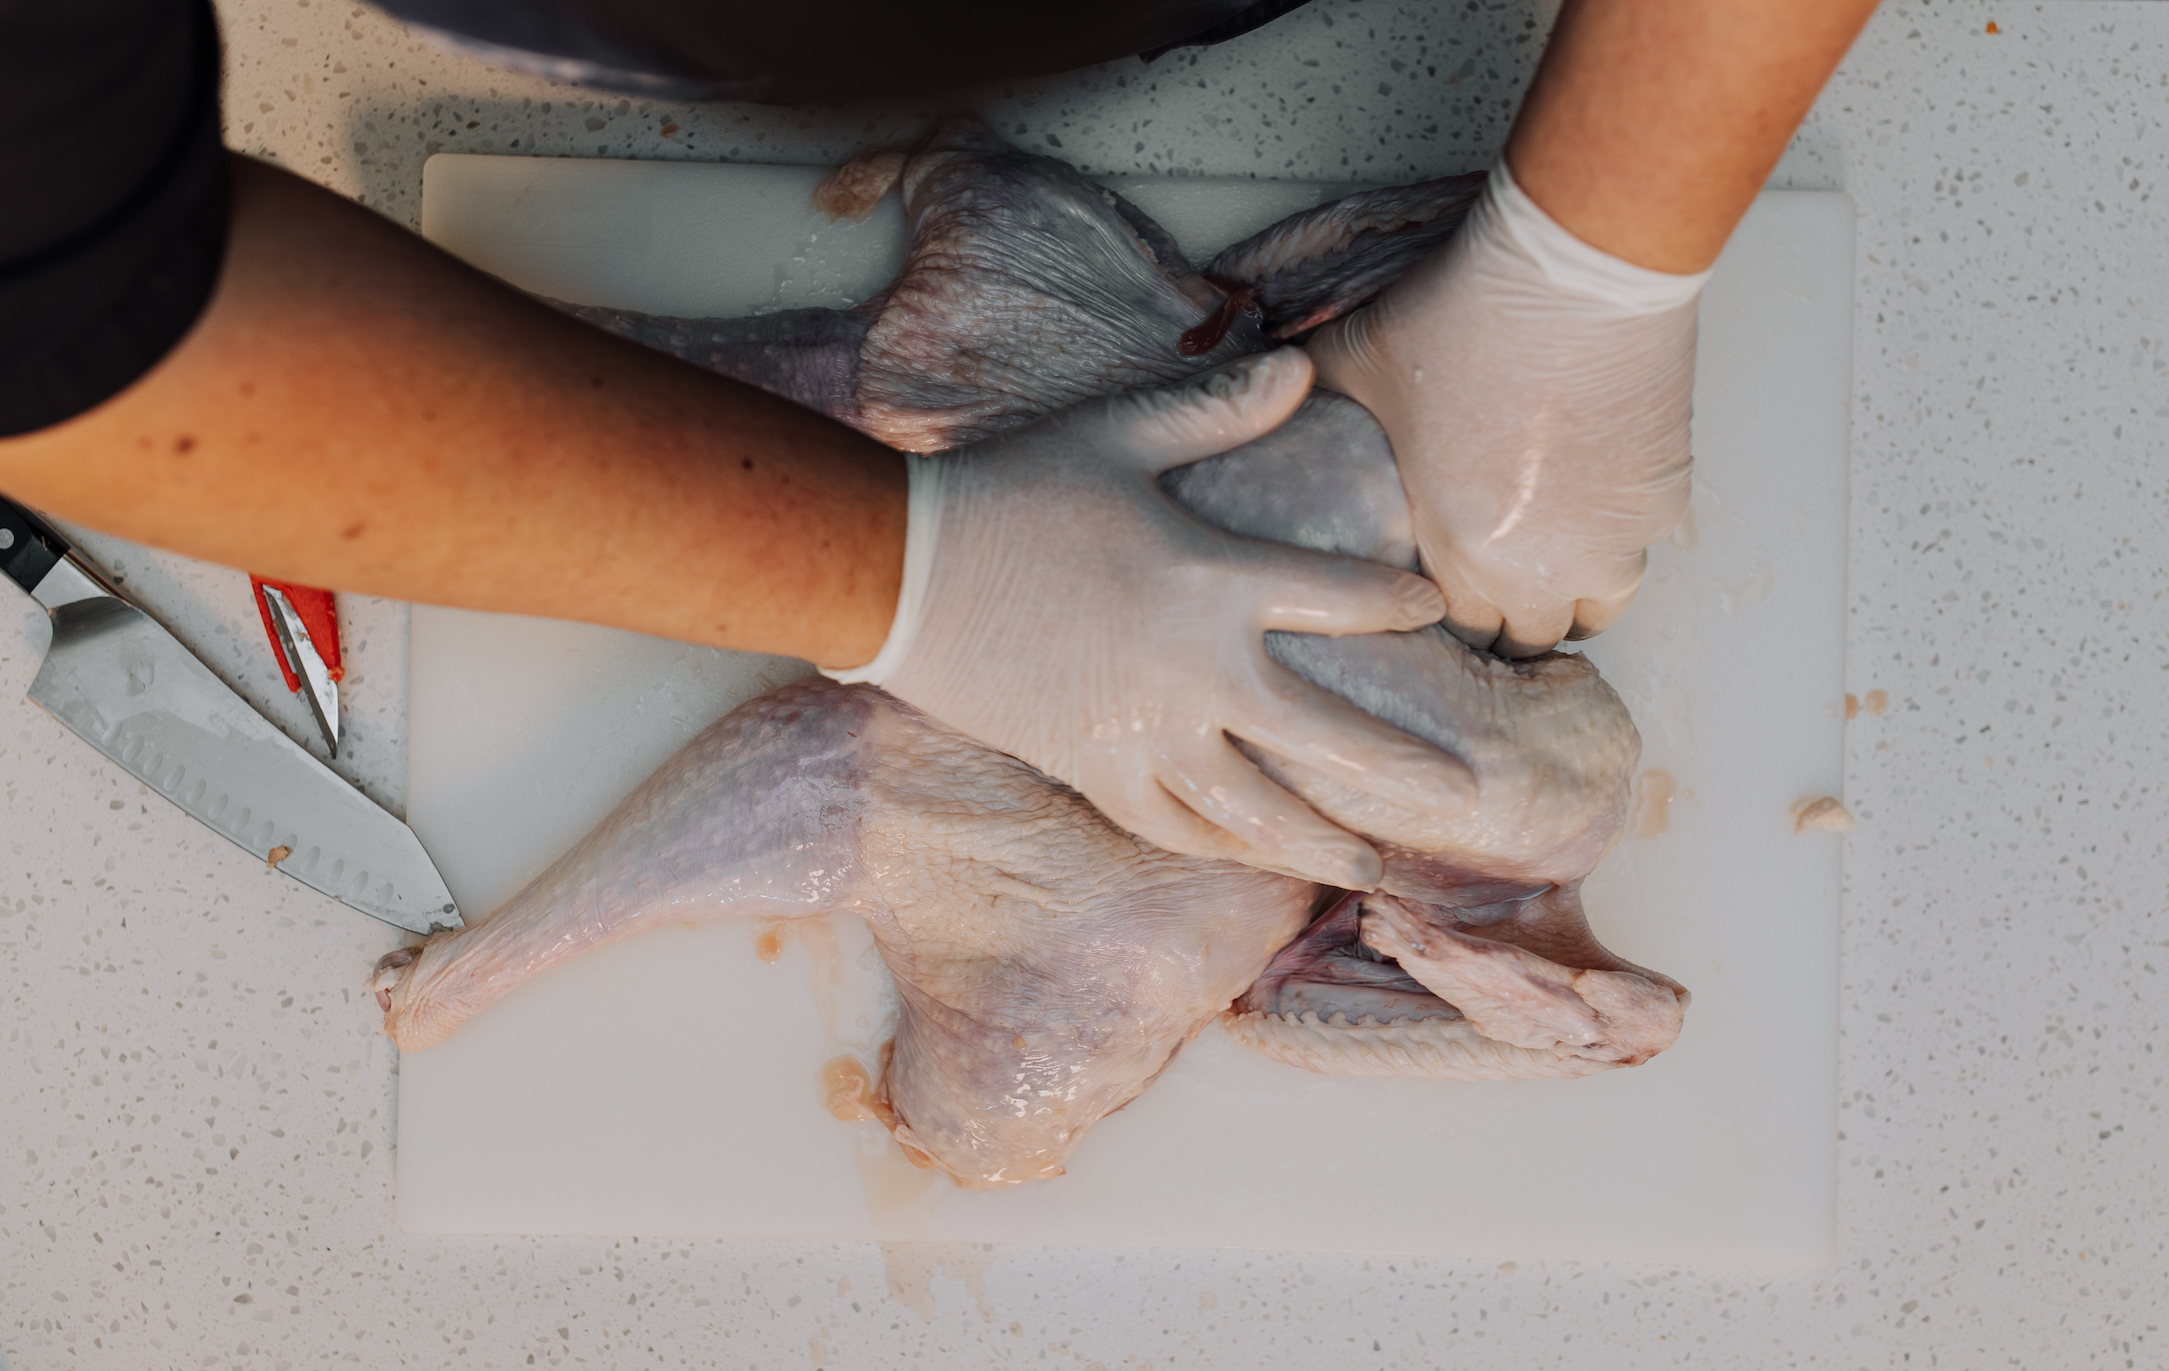
Step 3: Flip the bird again and flatten it
Turn the turkey over on the cutting board so the breast side is up. Using both hands, press down on the bird forcefully until you hear the crack of the wishbone and the turkey rests flat on the cutting board. Transfer the turkey, breast side up, to a baking sheet fitted with a wire rack.
Step 4: Dry Brine the bird
Season the turkey all over with salt, Dry Brine Blend or Butcher’s Salt. Use about 1/4 cup salt or the blends mentioned and salt the bird on both sides. You can rub a little under the skin as well. Refrigerate the turkey for at least 8 hours and up to 24 hours. Resist the urge to cover the turkey! The cool, dry air of the fridge does magical things. It will dry the skin, resulting in the crispiest skin possible.
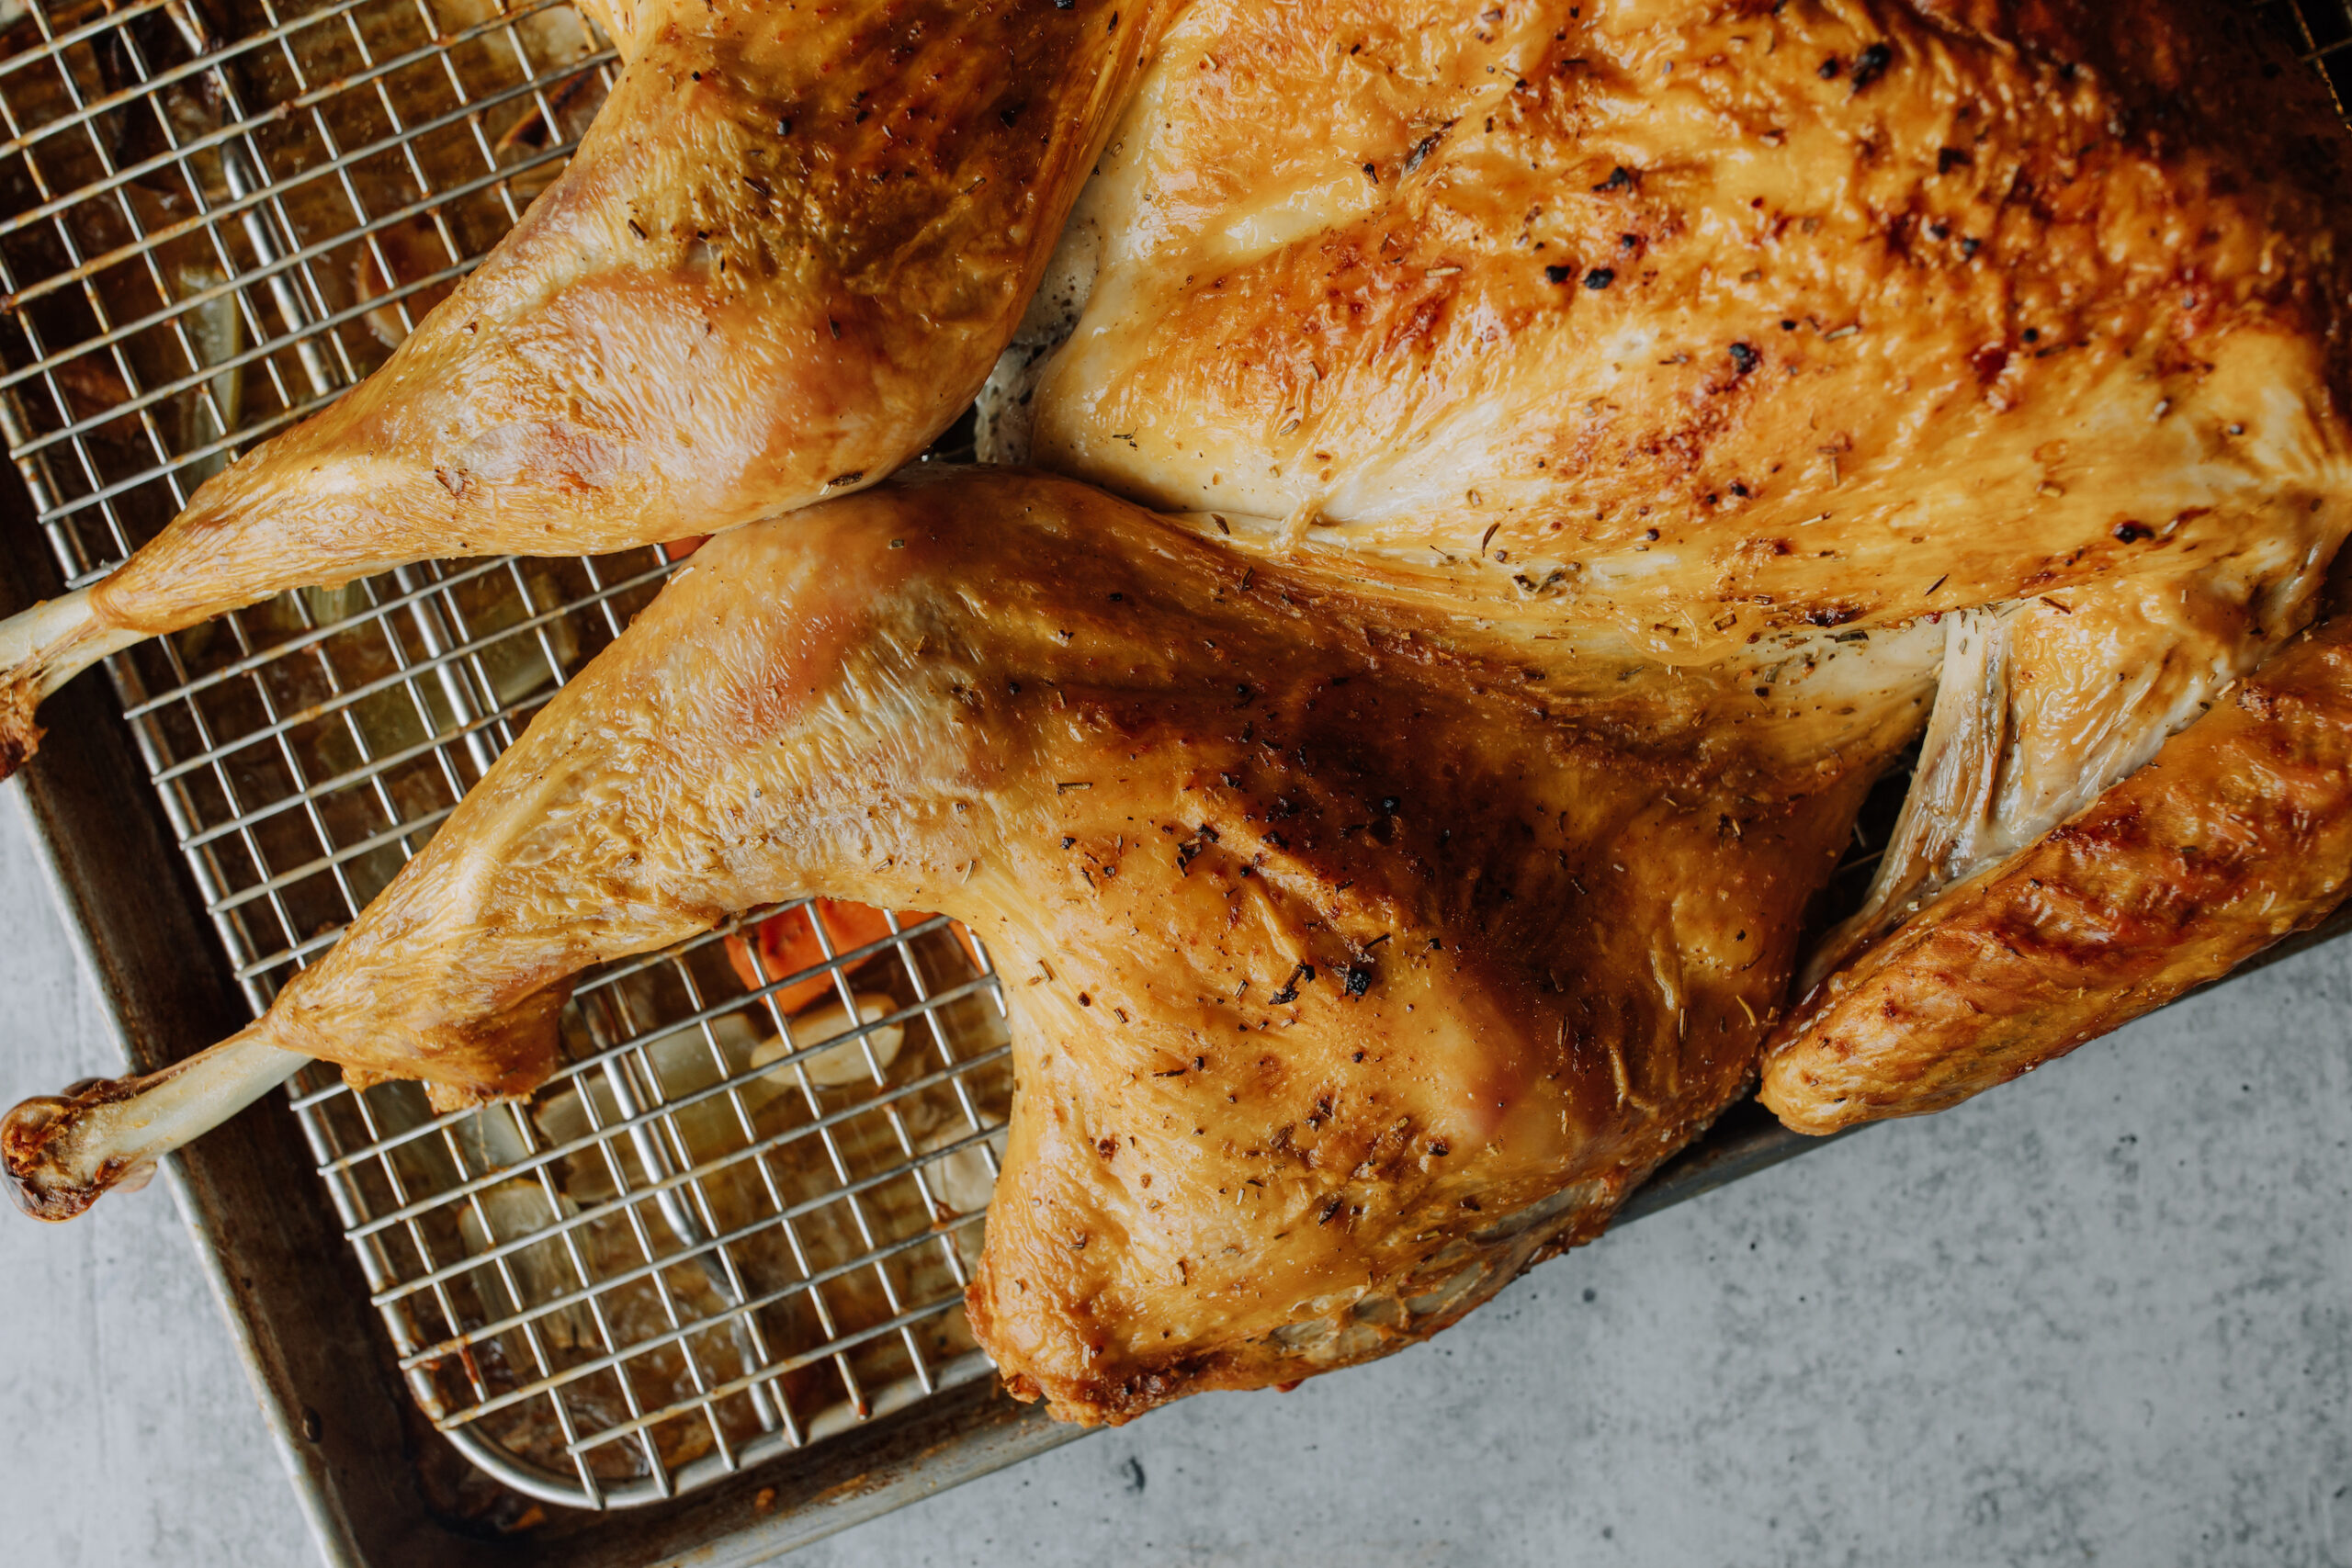
Step 5: Roast
When you’re ready to roast, preheat oven to 400°F. Remove the turkey from the fridge allow to stand at room temp for 30 minutes. Load up the sheet pan with some veggies. Lift up the rack and add in 2 celery stalks, a diced onion, a handful of garlic cloves and maybe some sliced fennel. You can add on sprigs of rosemary and thyme as well. Now, mayo-avoiders HANG IN THERE, combine 3/4 cup mayo with 1 cup chopped fresh herbs – we love a sage and parsley combo. Add in the zest of a lemon and two slivered scallions. Flip the bird and rub about a quarter of the mayo on the backside. Flip with breast facing up and rub the remaining mayo mixture all over and under the skin of the turkey. If you’re wondering “why mayo” read this explanation. Science!
Roast the turkey until the breast meat registers 150°F with an instant-read thermometer – about 80-90 minutes. If the skin starts to get too brown during roasting, use pieces of foil to tent. Allow the turkey to rest for 30 minutes and use the dripping to make gravy. Carve and enjoy!
Leave a Reply